Editing Techniques to Make Your Travel Photos Pop
Travel photos can be some of the most cherished mementos from any trip. Whether you're visiting a bustling city, exploring remote landscapes, or capturing candid moments of the locals, photography is a way to relive those experiences long after the journey ends. Even the best travel photos may not always capture the full essence of a place or scene right away. This is where editing techniques come in handy. With just a few simple adjustments, you can turn an average snapshot into something truly eye-catching that vividly conveys the beauty and emotion of your adventures.

1. Adjusting Exposure and Contrast
One of the most fundamental steps in photo editing is adjusting exposure and contrast. When traveling, it's common to face challenging lighting conditions, such as harsh sunlight or dimly lit interiors. These can result in photos that are too bright or too dark. Fortunately, modern editing tools offer easy-to-use sliders for fixing these issues.
Exposure refers to the overall brightness of an image. Increasing the exposure can help lighten up darker areas of your photo, while decreasing it can bring down overly bright spots. It's important not to overdo it, aim for a balance where both shadows and highlights are visible but not blown out.
Contrast, on the other hand, deals with the difference between light and dark areas in an image. Boosting contrast can add depth and drama to your travel photos by making colors pop and enhancing textures. A slight increase often suffices; Too much contrast can make your image look artificial or harsh.
2. Enhancing Colors for Vibrancy
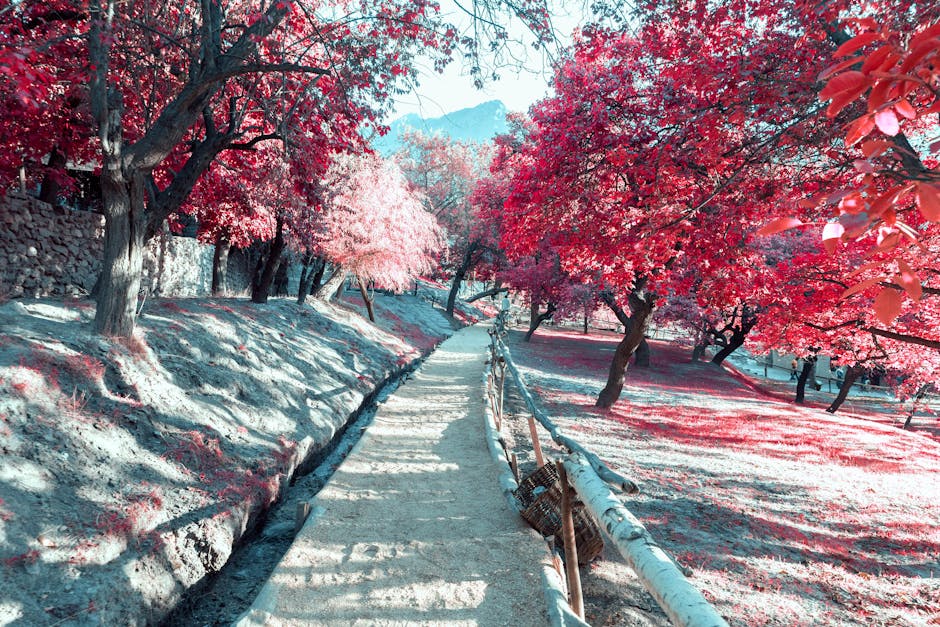
Travel destinations are often full of vibrant colors, whether it's a sunset over tropical waters or the bold hues of a local market's goods. Enhancing color saturation in your photos can emphasize these natural tones and make them stand out.
Most editing software offers saturation and vibrance sliders that allow you to control how intense the colors appear. While saturation affects all colors equally, vibrance primarily enhances muted colors without oversaturating already-bright areas. This makes vibrance a great tool for subtly boosting colors without making the image look exaggerated.
A helpful tip is to focus on specific color ranges when editing travel photos. For example, if you're working on a beach scene, you might want to enhance blues and greens to make the water and sky more vivid without affecting other parts of the image too much.
3. Sharpening and Noise Reduction
Sharpness plays a crucial role in how detailed your travel photos appear. A well-sharpened image brings out intricate textures like cobblestone streets or delicate foliage, making your photos more visually engaging.
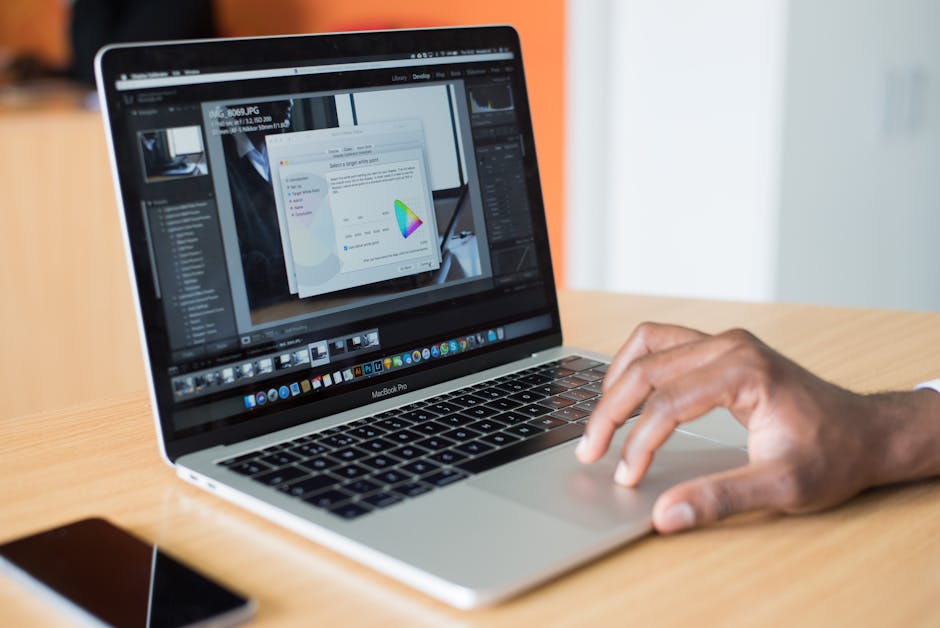
While sharpening is essential for clarity, excessive sharpening can introduce unwanted artifacts that degrade image quality. A good approach is to apply sharpening selectively using masking techniques available in most editing tools like Adobe Lightroom or Snapseed.
In low-light situations, photos may also have "noise" or graininess due to high ISO settings used by cameras to capture enough light. Noise reduction tools help smooth out this grain without sacrificing too much detail. Again, moderation is key, too much noise reduction can make your photo look overly soft or blurry.
4. Cropping and Composition Adjustments
Cropping is one of the simplest yet most powerful tools at your disposal when editing travel photos. Even if you didn't get perfect framing during your trip, cropping allows you to remove distractions from around your subject or improve the overall composition by adhering to rules like the rule of thirds.
The rule of thirds suggests dividing an image into nine equal parts using two horizontal and two vertical lines, then placing key elements along these lines or their intersections. This technique helps create balance and visual interest in your photo without resorting to centered compositions that may feel static.
Besides cropping for better composition, you may also need to straighten images where horizons appear tilted, a common issue with quick handheld shots taken during travel. Most editing software includes an auto-straighten feature that quickly fixes this issue based on reference points in your photo.
| Technique | Description |
|---|---|
| Exposure Adjustment | Brightens or darkens the overall image to correct lighting issues. |
| Contrast Boost | Increases the difference between light and dark areas for more depth. |
| Saturation & Vibrance | Enhances colors to make them more vivid without oversaturation. |
| Sharpening & Noise Reduction | Adds clarity while reducing graininess from low-light shots. |
| Cropping & Straightening | Improves composition by trimming unnecessary elements and correcting tilted angles. |
Avoid Over-Editing: Keep It Natural
While it’s tempting to use every tool at your disposal when editing travel photos, restraint is key to maintaining a natural look that still captures the authenticity of your experience. One common mistake beginners make is over-editing, whether by cranking up saturation too high or applying heavy filters that drastically alter the original image.
The goal should always be enhancing what's already there rather than completely transforming it into something unrecognizable. Small tweaks go a long way toward making travel photos pop while preserving their integrity.
The power of photo editing lies in its ability to bring out the best aspects of your travel shots without making them feel artificial or forced. Adjusting exposure for balanced lighting, enhancing colors for vibrancy, sharpening details where needed, and refining composition with cropping are all techniques that elevate ordinary snapshots into memorable keepsakes from your adventures.
Editing isn’t about creating perfection but about helping images reflect what you saw and felt at that moment more accurately, or even more vividly than reality allowed at the time due to technical limitations like lighting conditions or camera settings. As you continue experimenting with different techniques and tools, you'll develop an intuitive sense of when an image needs just a little tweak versus when it calls for more substantial adjustments.
How to Get Started with Travel Photo Editing: A Beginner’s Guide

For those new to photography or just starting to explore the world of photo editing, the process can feel a bit overwhelming. With numerous tools and techniques available, knowing where to begin is essential for producing visually stunning images. Below is a simple guide designed to help beginners start editing their travel photos and get comfortable with the basics.
Before diving into the various adjustments and filters you might encounter, it’s important to establish a few foundational practices. Understanding these core principles will set you up for success as you become more familiar with photo editing software and techniques.
1. Choose Your Editing Software
The first step for any beginner is selecting an editing platform that suits their needs and skill level. There are many options available, from basic free apps to more advanced paid software. Some popular choices include:
- Adobe Lightroom: A favorite among professional photographers, Lightroom offers extensive tools for adjusting everything from exposure and color balance to sharpness. Its user-friendly interface makes it accessible for beginners while providing room to grow as your skills advance.
- Snapseed: This mobile app (available for iOS and Android) is great for editing on the go. Snapseed provides an array of filters and tools, such as exposure control and color enhancement, which can help turn an average travel shot into something impressive.
- Canva: Known more for its graphic design features, Canva also includes simple photo-editing tools like cropping, adjusting brightness, and adding filters. It’s ideal for quick edits or beginners who want a straightforward experience.
Once you've selected your preferred tool, spend time exploring the interface. Many platforms offer tutorials or guides that help you get acquainted with the most commonly used features.
2. Start with Basic Adjustments
It can be tempting to jump straight into advanced features, but as a beginner, it’s best to master the basics first. Focus on understanding how to manipulate key elements like exposure, contrast, and color balance before moving on to more complex techniques.
The following three adjustments serve as great starting points:
- Exposure: Learn how light affects your image. Start by increasing or decreasing exposure to find that sweet spot where details in both shadows and highlights become visible.
- Contrast: Practice adjusting contrast levels to make your photo look crisper without losing essential details in either dark or light areas.
- Saturation & Vibrance: Experiment with both saturation (which impacts all colors) and vibrance (which targets muted colors) to enhance your photos' natural hues without making them look overly processed.
3. Use Presets or Filters Wisely
If you're new to editing, presets or filters can be incredibly useful tools for speeding up your workflow while still achieving professional-looking results. Most editing software comes with built-in presets designed for different types of photography , landscapes, portraits, street scenes, etc.
A few tips for using presets effectively:
- Select a preset that complements the mood of your photo rather than forcing an aesthetic that doesn’t fit.
- Avoid heavy-handed filters that drastically alter colors or lighting , subtle adjustments tend to result in more natural-looking images.
- If possible, tweak individual settings after applying a preset so that it better suits your specific image.
You can also find third-party presets online or through communities of photographers who often share their favorite filters. Websites like LightroomPresets.com offer both free and paid options tailored for various travel scenes and styles.
4. Don’t Be Afraid of Trial and Error
No one becomes an expert at photo editing overnight, so don’t worry if your early attempts aren’t perfect. The beauty of digital editing lies in its flexibility , you can always undo changes or revert back to the original photo if something doesn’t work out as planned. The more time you spend experimenting with different sliders and settings, the better you'll understand how each adjustment affects your images.
A helpful approach when learning is to take one image through several rounds of editing where you adjust only one element at a time (e.g., just contrast during one pass, then only vibrance in another). This method helps isolate how each setting influences the final result without overcomplicating things early on.
5. Back Up Your Originals
An essential practice every beginner should adopt from day one is backing up your original photos before beginning any edits. Editing software typically allows you to work non-destructively (meaning edits don’t overwrite your original file), but it’s still smart to keep untouched versions stored separately in case something goes wrong during the process or if you ever want a fresh start on an image.
Create folders on your computer or use cloud storage services like Google Drive or Dropbox to safeguard your files. That way, no matter how many versions you create during the editing process, you'll always have access to the original photo as a reference point or backup.
6. Join Online Communities for Feedback
As you develop confidence in your editing abilities, seek feedback from others who share similar interests in travel photography. Platforms like Flickr Travel Photography Group, Instagram communities, or specialized subreddits provide excellent opportunities for posting your work and receiving constructive criticism from fellow photographers and enthusiasts alike.
The benefit of engaging with these communities is not only improving your own skills through feedback but also learning from others’ creative approaches and editing styles. Seeing how different people interpret similar photos can give you fresh ideas when working on future projects.
Mastering the Essentials
The path to becoming proficient at travel photo editing begins by mastering fundamental adjustments like exposure control, contrast manipulation, and color correction. Choosing user-friendly software tailored to beginners and approaching each edit systematically ( whether through presets or manual tweaks ) anyone can transform their travel shots into vibrant keepsakes.
The most important advice? Don’t rush! Take time exploring each tool at your disposal while keeping things simple during the early stages of learning. Over time, these small steps will build up into significant improvements in both technical skill and artistic confidence as an editor of travel photography.