How to Use Natural Light to Enhance Your Travel Photos
When it comes to travel photography, one of the most important elements to consider is lighting. While artificial lighting can sometimes be necessary, natural light often offers unmatched beauty and versatility. Knowing how to use sunlight effectively can make a significant difference in your travel photos, helping you capture the essence of a location without relying on complex setups. Natural light can bring out vibrant colors, enhance textures, and add depth to images, making them feel more authentic and captivating.

Understanding how different types of natural light affect your photographs is crucial. Whether you're shooting during golden hour, mid-day, or even on cloudy days, each type of lighting has its own strengths and challenges. By mastering the use of natural light in various conditions, you can elevate your travel photography and create stunning visuals that truly reflect the beauty of the places you visit.
Golden Hour: Your Best Friend
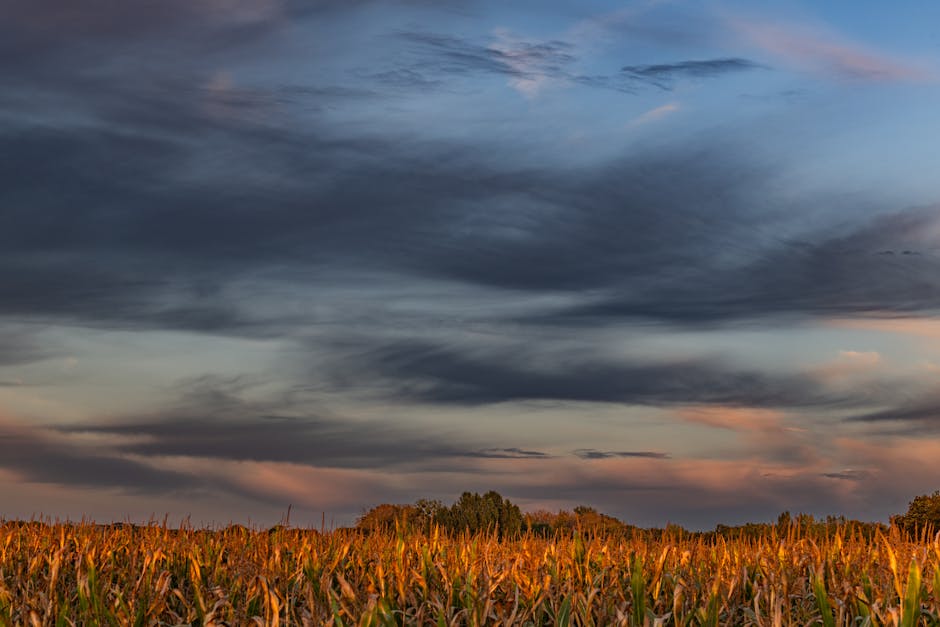
The golden hour refers to the period shortly after sunrise and just before sunset when the sun is low on the horizon. During this time, sunlight is soft and diffused, which helps reduce harsh shadows and overexposure. This warm, golden light enhances skin tones and adds a magical glow to landscapes, making it an ideal time for travel photography.
- Morning Golden Hour: Early risers will find that morning golden hour offers a quieter atmosphere with fewer tourists around, allowing for more focused shots.
- Evening Golden Hour: Sunset light adds a touch of drama to your photos, especially when capturing silhouettes or vibrant cityscapes.
To maximize the effect of golden hour, plan your day around these times. Use weather apps or websites like Time and Date to track sunrise and sunset times at your destination. This will help you be in the right place at the right time to capture that perfect shot.
Midday Sun: Managing Harsh Light
Shooting in the middle of the day can be tricky due to the intensity of direct sunlight. The overhead position of the sun creates strong shadows that may not always be flattering, especially in portrait photography. There are ways to make midday sun work for you if you're strategic about it.
- Find Shade: One way to avoid harsh shadows is by finding shaded areas where light is more evenly distributed. Shooting under trees or next to buildings can help soften light while still maintaining brightness.
- Use Reflective Surfaces: Consider using reflective surfaces like water bodies or white walls to bounce light back onto your subject for a more balanced exposure.
If you must shoot directly in bright sunlight, try adjusting your camera settings. Lowering your ISO and increasing shutter speed can help reduce overexposure. You may also want to use a polarizing filter to cut down on glare and reflections from shiny surfaces such as water or glass windows.
Cloudy Days: Soft Light Without Shadows

Contrary to popular belief, cloudy days can be excellent for photography due to the diffused lighting created by cloud cover. Overcast skies act like a giant softbox, eliminating harsh shadows and providing even lighting across your scene. This makes cloudy conditions particularly favorable for capturing portraits or intricate architectural details without worrying about blown-out highlights or deep shadows.
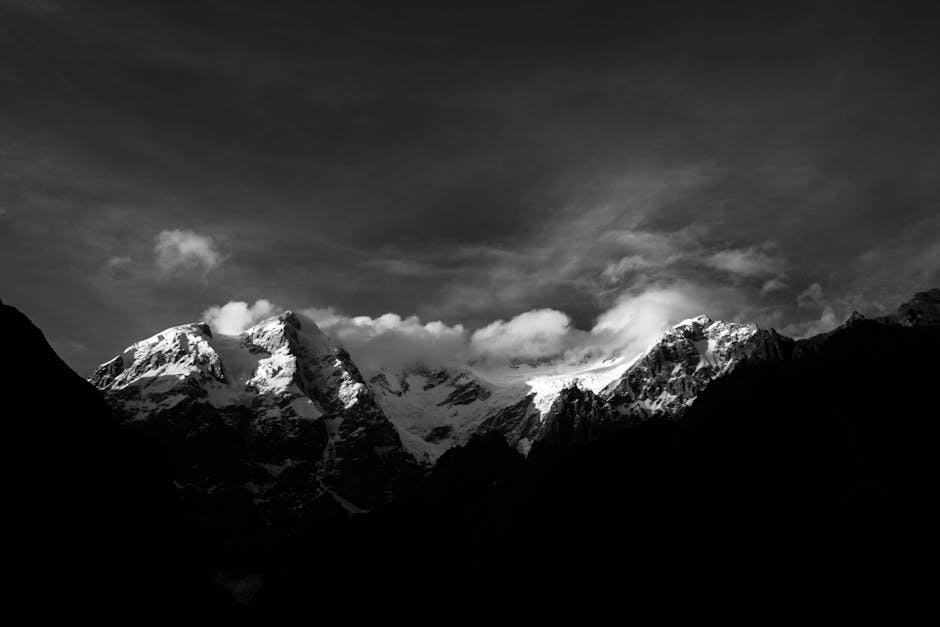
If you're shooting landscapes or cityscapes on a cloudy day, pay attention to how clouds interact with natural landmarks. Darker clouds can add moodiness and drama to wide shots while still allowing you enough light for clear details.
Backlighting: Adding Drama and Depth
Backlighting occurs when the primary source of light is positioned behind your subject rather than in front of it. Although this can create challenges such as silhouetting or lens flare, backlighting also offers unique opportunities for creative photography.
This technique works particularly well during sunrise or sunset when the sun is lower in the sky. To use backlighting effectively:
- Create Silhouettes: Position your subject directly between yourself and the light source (the sun). Silhouettes add drama by highlighting shapes rather than fine details.
- Capture Lens Flare: While typically avoided in professional photography, lens flare can add an artistic touch if used intentionally. Play around with angles until you get just enough flare without overwhelming your photo.
Avoid overexposure when using backlighting by metering for highlights rather than shadows. Most cameras allow you to tap on the brightest area of your frame for proper exposure adjustments.
The Blue Hour: A Serene Opportunity
The blue hour occurs just before sunrise or right after sunset when indirect sunlight takes on cooler tones, casting everything in blue hues. This soft lighting creates a peaceful ambiance that's perfect for landscape shots or cityscapes where artificial lights are just beginning to turn on.
The challenge with blue hour photography lies in balancing natural light with artificial sources such as streetlights or neon signs. Make sure your camera is steady (tripods are essential here) and adjust your settings accordingly for long-exposure shots that capture both ambient and artificial lights in harmony.
Cameras Settings for Natural Light Photography
Your camera's settings play a crucial role in harnessing natural light effectively. Here are some key adjustments:
- Aperture (f-stop): A lower f-stop (wider aperture) allows more light into your lens and creates a shallow depth of field, ideal for portraits where you want background blur.
- Shutter Speed: Slower shutter speeds let in more light but require stability (use tripods) whereas faster shutter speeds are better suited for sunny conditions.
- ISO Sensitivity: Keep ISO as low as possible (100-200) during bright daylight hours but increase it (400-800) when shooting under low-light conditions like blue hour or indoors with limited lighting sources.
Tweaking these settings based on available natural light ensures that your photos remain sharp and well-exposed without needing excessive post-processing later on.
Understanding how different types of natural light impact your travel photos allows you greater control over composition and storytelling through images. Whether it's capturing dramatic silhouettes during sunset or taking advantage of soft lighting on cloudy days, mastering natural light will undoubtedly enhance your photography skills, making every shot count no matter where you are in the world.