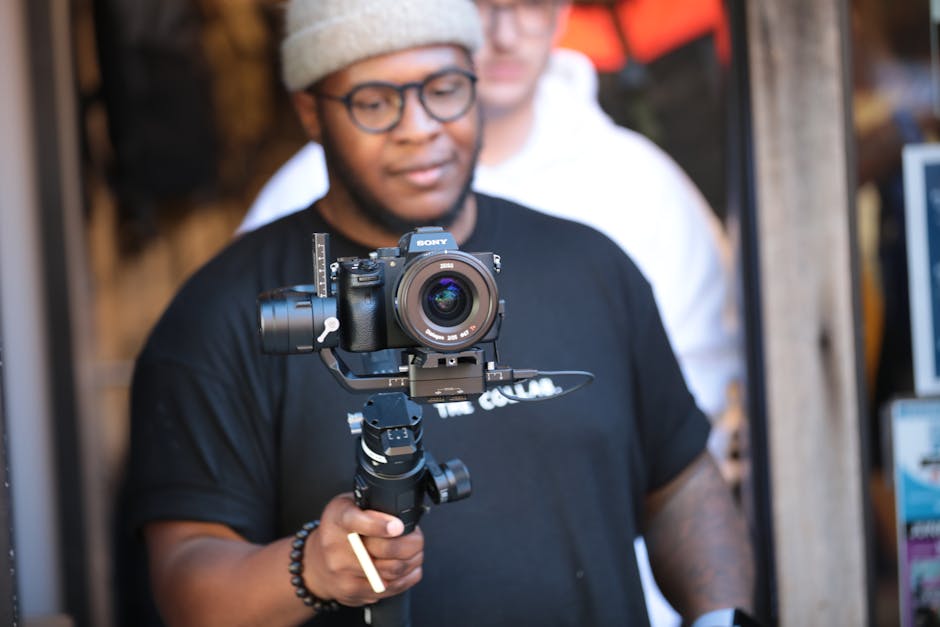
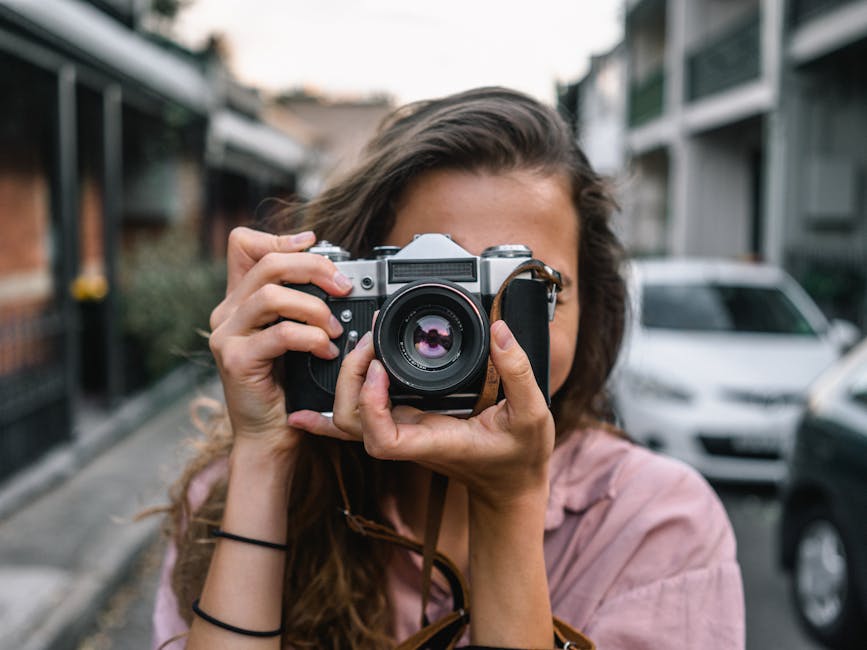
Tips for Stabilizing Your Shots Without Professional Equipment
Capturing smooth, steady shots can make a significant difference in the quality of your videos, whether you're filming a short clip for social media or working on a more ambitious project. Professional equipment like gimbals and stabilizers can help achieve this effect, but they aren't always accessible or affordable for everyone. Fortunately, there are several techniques and low-cost tools you can use to stabilize your shots without the need for expensive gear. Learning how to keep your camera steady using available resources can greatly enhance the visual appeal of your content.

Using Your Body as a Stabilizer
One of the simplest ways to improve camera stability is by using your own body as a support system. By adjusting your posture and holding your camera correctly, you can reduce unwanted shakes. Start by keeping your elbows close to your body and avoid extending your arms too far. This helps create a more stable foundation and minimizes the movement that can occur when holding the camera with outstretched arms.
A proper stance can also go a long way in stabilizing your shots. Try standing with your feet shoulder-width apart and slightly bending your knees. This lowers your center of gravity, helping you maintain balance. If you're filming while walking or moving, try taking slow, deliberate steps to avoid jarring movements in the footage.
Additionally, breathing techniques can play a surprisingly important role in keeping your shots steady. Many photographers and videographers recommend exhaling slowly before pressing the record button, which reduces tension in the body and allows for smoother movements. This technique is especially useful when capturing handheld shots that require precision.
Leveraging Everyday Objects
If you're shooting in an environment where you have access to everyday objects, you can use them as makeshift stabilizers. For instance, leaning against a wall or tree can offer additional support when trying to capture a still shot. A simple chair or table can also serve as a makeshift tripod by allowing you to rest the camera on top while filming.
Another clever trick is using a string tripod. All you need is a long piece of string and something to attach it to (either around your waist or underfoot) while tying the other end around the camera's base. By pulling the string tight while standing up straight, you create resistance that helps keep the camera stable.
Carrying around items like a small beanbag can be another helpful solution when you're in need of quick stabilization. By placing the beanbag under your camera on any flat surface, you'll have an improvised cushion that prevents minor vibrations from affecting your shot.
Shooting Techniques for Stability
Certain shooting techniques can also make a big difference in how stable your footage appears. One common method is the "tripod mimic" technique, where you hold the camera against your body with both hands while tucking your elbows into your sides, this simulates the effect of a tripod without needing one.

Shooting wide rather than zooming in is another way to improve stability naturally. The more zoomed-in you are, the more sensitive each tiny movement becomes on camera. Wide-angle shots not only give you more flexibility but also tend to hide smaller shakes that might otherwise be noticeable at higher zoom levels.
If you're filming while walking, consider employing what's known as the "ninja walk." The idea behind this technique is to take soft steps by bending at the knees and rolling from heel to toe with each step you take. By doing so, you absorb much of the impact from walking and prevent it from transferring into shaky footage.
Affordable Tools and DIY Solutions
Though professional stabilizers may be out of reach for some people, there are plenty of affordable alternatives that can help improve stability without breaking the bank. For example, smartphone users can purchase inexpensive handheld grips or mounts designed specifically to reduce shake during recording sessions.
Another cost-effective tool is a monopod, a single-legged alternative to tripods that offers greater flexibility while providing additional stability. Monopods are compact and easy to carry around compared to full-sized tripods, making them ideal for situations where mobility is key.
If you're feeling crafty, there are numerous DIY stabilizer projects available online that allow you to build functional rigs using materials like PVC pipes or old weights at minimal cost. These homemade solutions may not match professional-grade equipment in terms of refinement but often work remarkably well when executed properly.
| Stabilization Method | Cost | Effectiveness |
|---|---|---|
| Using Your Body | $0 | Moderate |
| Everyday Objects (walls, tables) | $0 | Moderate |
| String Tripod | $2-5 (for string) | High |
| Monopod/Handheld Grips | $20-50 | High |
| DIY Stabilizer (PVC pipe) | $10-15 | High |
Improving Without Breaking the Bank
The reality is that creating smooth video footage doesn't always require expensive equipment if you're willing to explore creative alternatives and pay attention to fundamental shooting techniques. Whether you're leveraging everyday objects around you or practicing simple body stances and movement strategies, these solutions can transform even an amateur video into something much more polished.
The beauty of these methods lies in their simplicity, many don't require any special tools or investment beyond what you already have at hand. By mastering these tips over time, you'll likely find yourself producing far more stable content regardless of whether you're filming with a smartphone or DSLR camera.
This kind of ingenuity not only saves money but also encourages experimentation with different techniques that will serve you well down the line when working on larger projects, or even if one day professional equipment does come into reach!